Do you use STEM projects in your classroom? STEM (Science, Technology, Engineering, and Mathematics) can be found in most upper elementary classrooms. It is easy to include a marshmallow and spaghetti noodle tower on Fun Friday or a craft stick catapult at the holiday party. But when we incorporate the full engineering design process, these activities move from fun experiments to meaningful opportunities for critical thinking and problem-solving.
When students are guided through the engineering design process, the focus shifts from “Did it work?” to “Why did it work—or why didn’t it?” That shift is where the real learning happens. Instead of simply building something for fun, students start thinking like engineers, analyzing constraints, testing variables, and making evidence-based decisions.
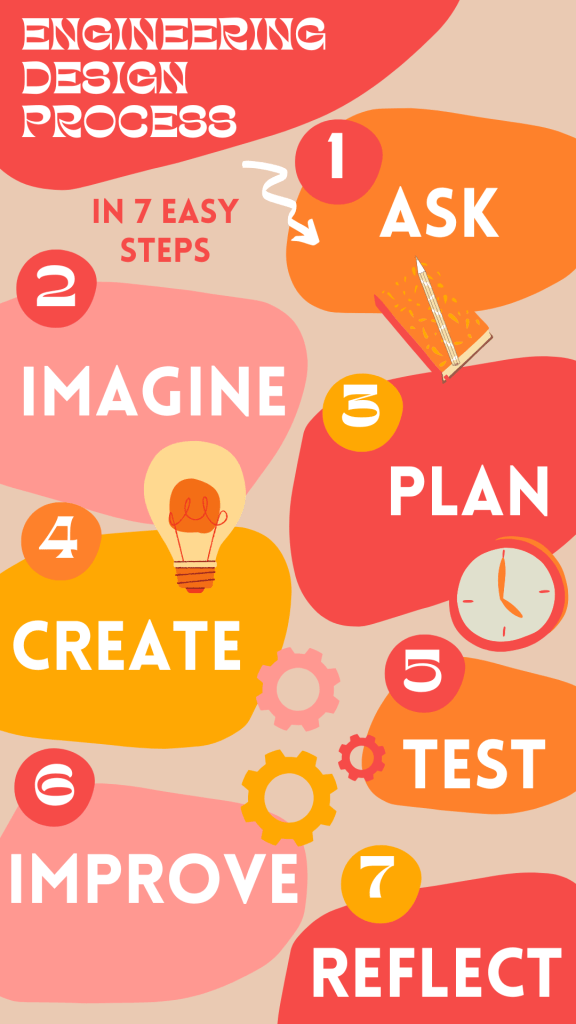
The engineering design process consists of seven clear steps: Ask, Imagine, Plan, Create, Test, Improve, and Reflect. While they are often presented in order, it is important to remember that this process is flexible. Students will often move back and forth between steps, especially between testing and improving. This back-and-forth thinking is an important part of the process.
Ask
Goal: Determine the problem, constraints, and criteria.
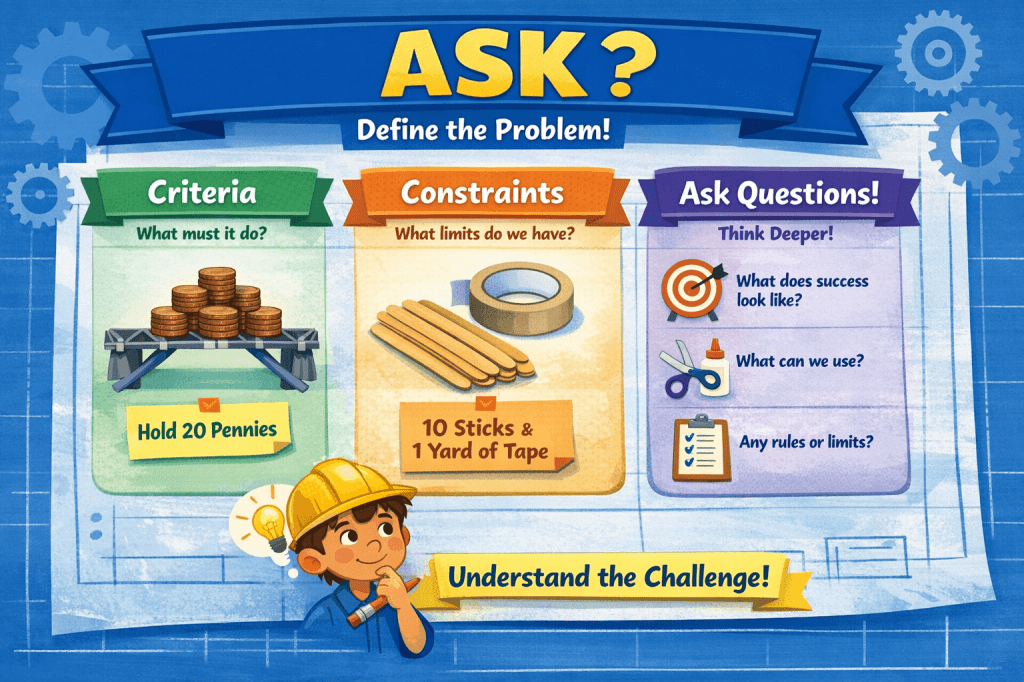
Students first determine the problem that must be solved. In upper elementary, this step should also include identifying the criteria for success, what the solution must do, and the constraints, such as time, materials, or budget. For example, instead of simply saying “Build a bridge,” students might be asked to design a bridge that holds 20 pennies using only 10 craft sticks and one yard of tape. Or they could be provided with a list of ten materials and told that they may only pick four. When students clearly understand the problem and its limitations, their solutions become more focused and thoughtful.
This is also a great time to encourage students to ask clarifying questions. What counts as success? How will it be measured? Can materials be cut or combined? Teaching students to ask strong questions sets the tone for deeper thinking throughout the project.
Imagine
Goal: Brainstorm possible solutions.
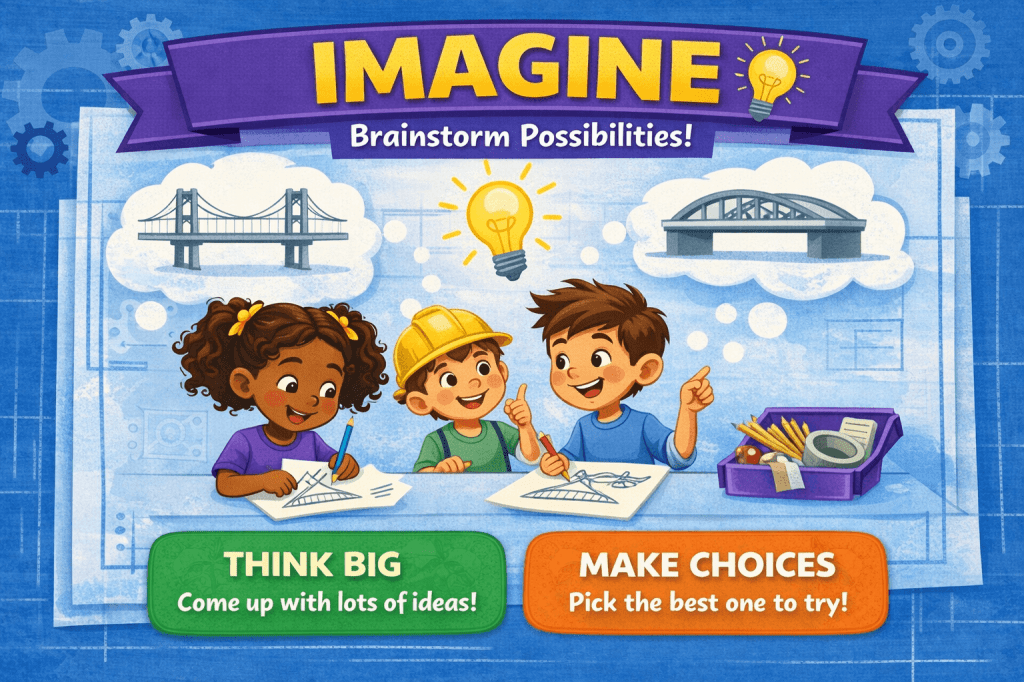
During this phase, creativity is key. Students brainstorm multiple ideas before settling on one. Encourage them to think beyond their first idea. Often, the second or third idea is stronger. You might have students sketch several designs, discuss ideas with partners, or think through the pros and cons of each possibility before choosing one direction.
This is also a safe space for bold ideas. Even if an idea seems unrealistic, discussing why it might or might not work builds reasoning skills. The goal is not perfection. It is to determine the possibilities and be creative.
Plan
Goal: Develop a detailed blueprint for your design.
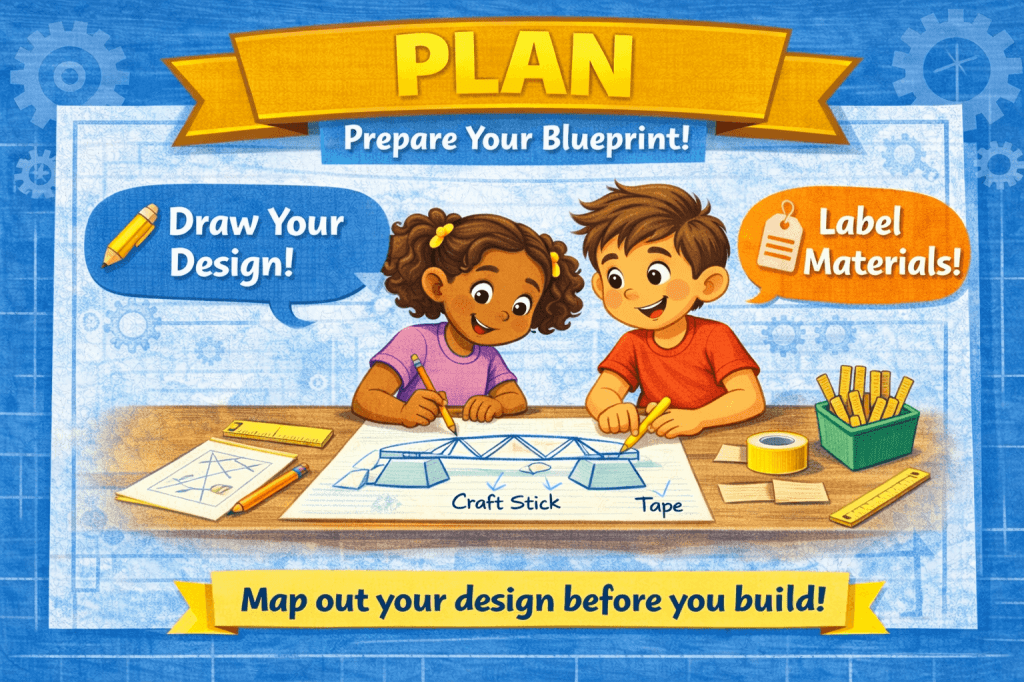
Planning slows students down in the best way. When students take time to sketch and label materials, they are forced to think through how their design will actually function. Where will the supports go? How will pieces be attached? What part might be weakest?
In upper elementary classrooms, requiring labeled diagrams and written explanations strengthens the cross-curricular connection to writing and math. Students can estimate measurements, calculate quantities, or justify why they chose certain materials. A thoughtful plan often leads to a more successful build. Even when it does not, it provides a clear starting point for improvement.
Create
Goal: Build your design using the plan as a guide.
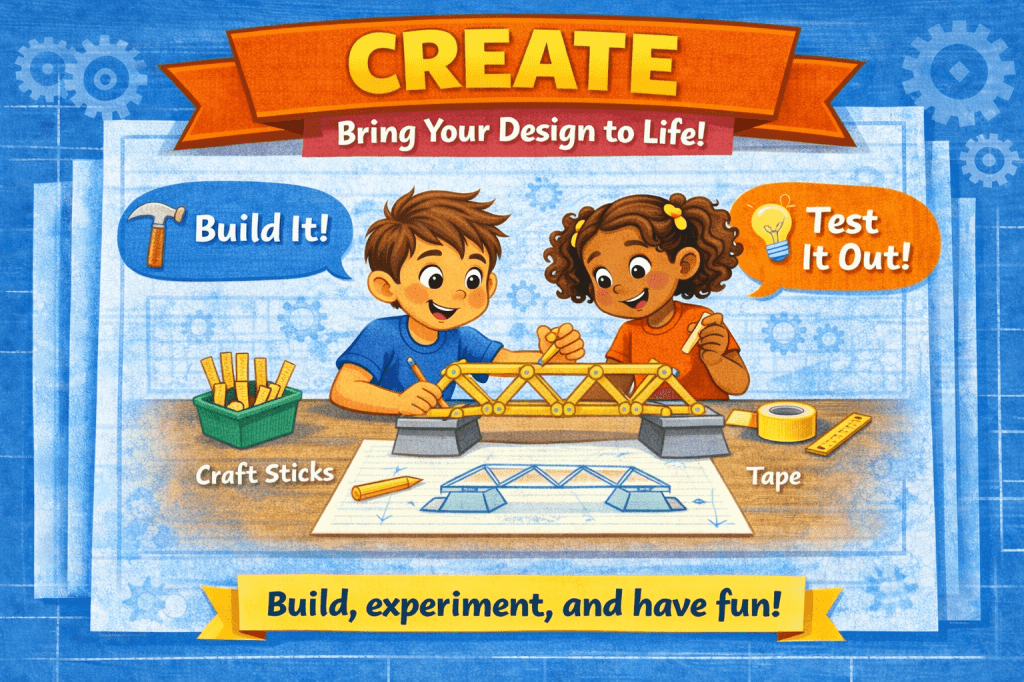
This is the hands-on activity part! Students use their plan to build their design, whether it’s a bridge, a floating boat, or an insulated ice cube holder. Encourage them to work together, talk through their ideas, take turns, and keep their materials organized.
Students see how their sketches actually work in real life, notice what’s holding up (or falling down), and start thinking about what they might change next. This phase is all about experimenting, learning from what happens, and having fun with the process.
Test
Goal: Evaluate how well the design works.
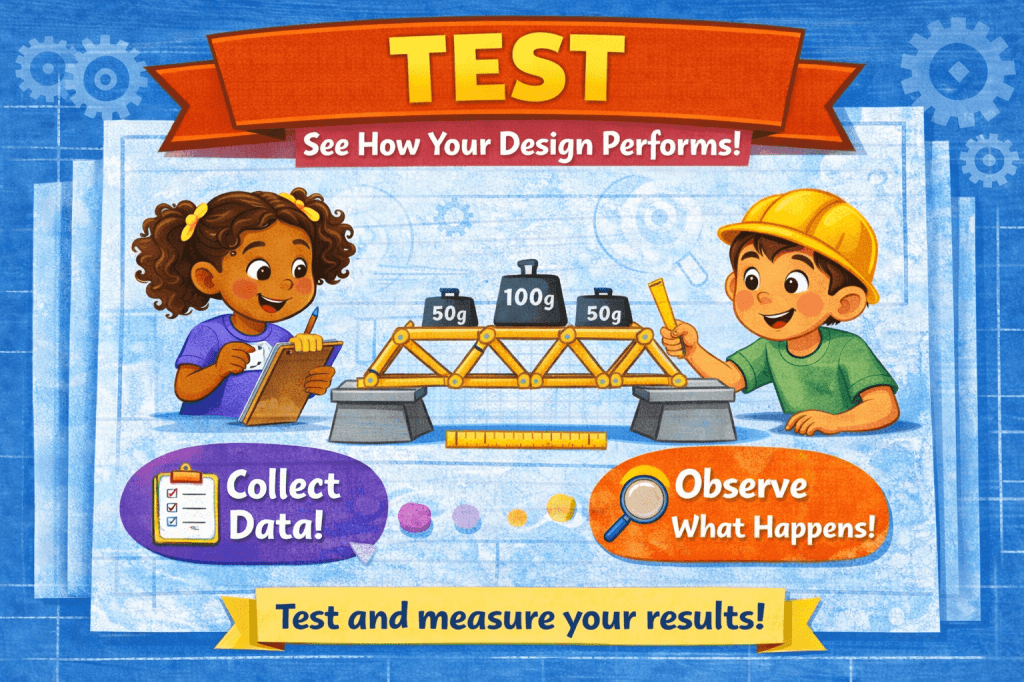
Students test their creation and collect data. This is where critical thinking and problem-solving skills really occur. Lots of teachers skip this step, but the most powerful learning happens when students test out their design and take notes on what went well and what didn’t. Instead of simply declaring success or failure, students should record observations: How much weight did the bridge hold? How far did the catapult launch? How long did the insulated ice cube last?
When a design fails, that moment is incredibly valuable. Students learn resilience, adaptability, and analytical thinking. Accepting initial failure helps build a classroom culture where mistakes are expected, welcomed, and lead to growth.
Improve
Goal: Refine the design based on observations and data.
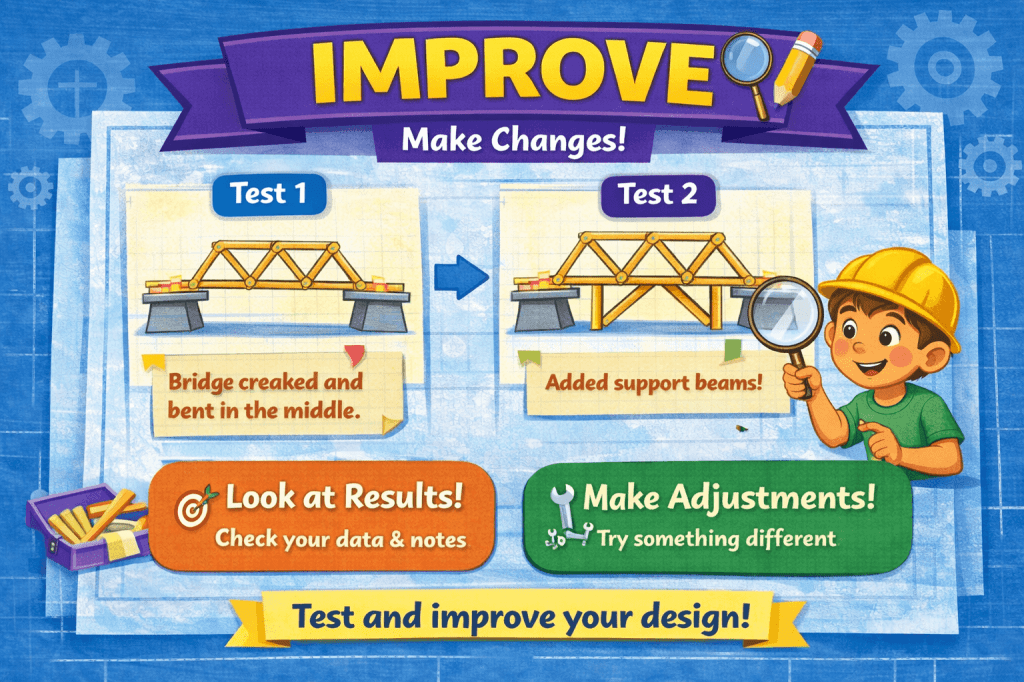
Improvement is where iteration happens. Encourage students to look directly at their data and observations before making adjustments. Did the structure collapse in the middle? Maybe it needs additional support beams. Did the catapult launch inconsistently? Perhaps the tension needs adjusting.
This can happen in as little as five minutes. Small changes can make a big difference, and changing only one thing at a time allows students to isolate a variable and really see if it makes a difference. This helps them clearly see cause and effect rather than guessing which adjustment made the difference. Over time, students begin to internalize this systematic approach to problem-solving.
Reflect
Goal: Analyze successes and challenges to build understanding.
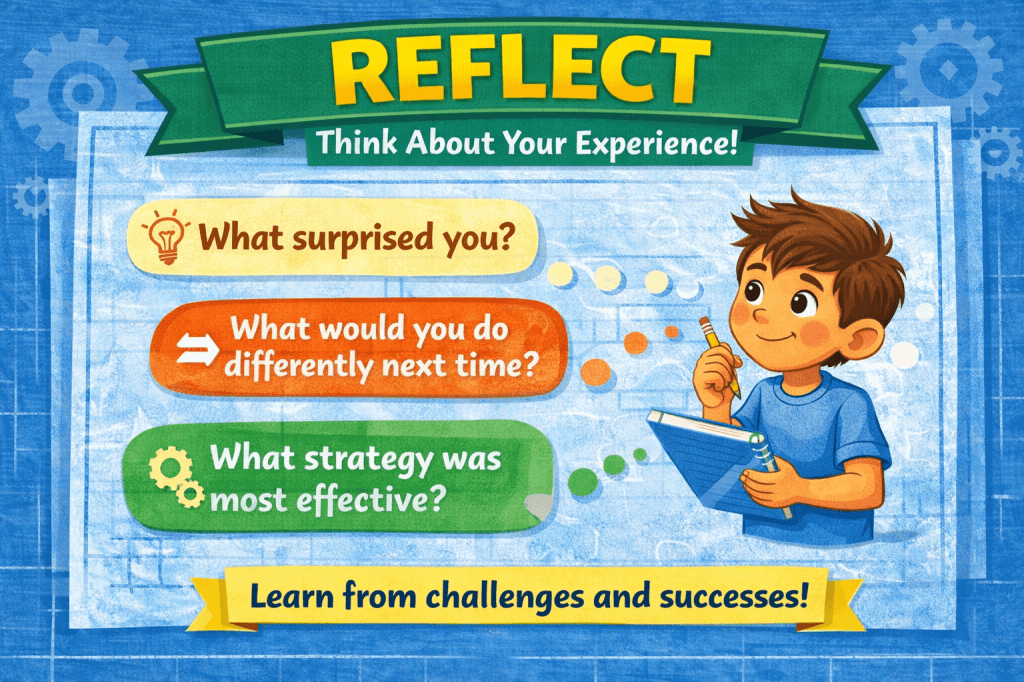
Another often skipped step is reflection. Taking a few minutes to think about what went well and what didn’t can give them a head start on the next challenge.
Reflection solidifies learning. Without it, students may move on without fully understanding why their design succeeded or struggled. Consider asking guiding questions such as: What would you do differently next time? What surprised you? What strategy worked better than expected? What did the successful designs have in common?
You might have students complete a quick written reflection, discuss with a partner, or share insights as a class. Reflection not only deepens understanding of the current challenge but also builds transferable problem-solving skills they can apply to future STEM tasks and beyond.
When we intentionally include every step of the engineering design process, STEM projects become more than hands-on fun. They become structured opportunities for students to think critically, collaborate effectively, and develop perseverance. And those are skills that extend far beyond the classroom.
Are you still curious? Read more about using STEM Projects in the Gifted and Talented classroom, learn how to Create a Catapult, or discover the science behind a Rube Goldberg Chain Reaction Machine.


Leave a comment