Are you thinking about getting a 3D printer for your elementary classroom? A 3D printer can be a great addition to engage and challenge your students. The following tips will help you get started.
- Get a Printer
- Ongoing Expenses
- Explore 3D Design Software
- Create Your Own Designs
- Connect to Your Curriculum
- Create a Successful Design
- Complete a Checklist Before Printing
- Teacher Splices
- Printer Tips
- Celebrate
1. Get a Printer
There are lots of grants available to purchase a 3D printer for your classroom and lots of donors are eager to help aid in advancing technology opportunities for students. Look for a district grant, technology grant, or write your own on Donors Choose. When writing a grant, it is important to first decide how your use of a 3D printer will enhance your curriculum and improve the learning experience for students. It is easy to include engineering standards in your grant. Students will use the engineering design process to plan, create, and improve their designs regardless of the unit.
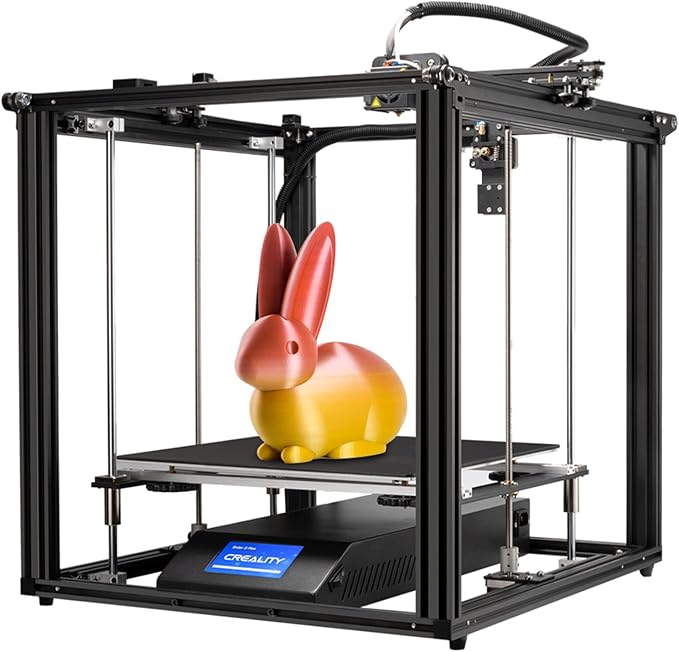
I wrote a grant for a Creality Ender to use with fourth and fifth grade students. It fit my budget and was beginner friendly. I was nervous at first that the heating element would not be contained, but we have not had any issues. Of course, I always supervise the printer when it is in use. Other teachers that I know have had success with Flash Forge, Makerbot, and Dremel models.
2. Ongoing Expenses
I am often asked about ongoing expenses since I do pay for those on my own. The only recurring expense is purchasing filament. I have been able to purchase large rolls for less than $30.00 each and a couple of rolls a year have been all that have been needed for each student to print a project each year. I have had my printer for several years and have not incurred any other replacement costs.
3. Explore 3D Design Software
Students need plenty of time to explore 3D design software. I use Tinkercad with my students. It allows teachers to set up a class account and have access to student projects. This will come in handy when you are ready to splice student files in order to print them.
One of the biggest mistakes I made when starting prints with fourth grade students was not giving them enough time to practice using the software before beginning prints. Students need lots of time to explore and practice before their designs get better.
Tinkercad has built-in tutorials to help students get started. They are quick and easy to follow. I have students complete the tutorials first and then go through more specific tasks.
Tasks such as create a solid cube with a height, width, and length of 10 mm require students to demonstrate understanding of multiple steps. This allows them to understand the process before asking them to also think creatively with their own designs.
4. Create Your Own Designs
Students are very tempted to find a design that is already available. While there are numerous print files available to download and use, this is problematic for numerous reasons. First, when students create their own designs they are required to problem-solve and think critically. Downloading a design does not help them acquire any of these skills. Second, these designs are often difficult to print. They have lots of small parts that do not hold together well and often use lots of filament.
It is easy to tell if students actually create original designs or not, but I always lead with the statement that I will only print original designs, not those downloaded from the internet. This can put a stop to any temptation.

5. Connect to Your Curriculum
I personally use the 3D printer as part of my invention unit for talented and gifted students. After learning about famous inventors and inventions, students determine a problem that they currently face and create their own inventions to solve their problems. They use the SCAMPER process to turn an existing idea into something that is not currently available.
3D printers could also be a good fit for expanding units on three-dimensional shapes, simple machines, force and motion, building structures, or engineering. Effective design requires both creativity and critical thinking skills.
6. Create a Successful Design
When creating a design that you plan on printing, it is helpful to start with basic shapes. You can add a cube, cylinder, or sphere to the center of the workplane. Prints in the center will be less likely to run off. Additional shapes can then be added and grouped, including holes to make the shape hollow.
The design should be an appropriate size. Large designs take a very long time to print and use a lot of filament. When printing at school, I require prints to be under 8 hours so that I have time to monitor the print while there. Long print times can be reduced by making the design smaller or making the shape hollow.
All shapes should be connected in order to be printed. I have found that it works better for the base to be the widest piece and for connecting pieces to get narrower as they move towards the top. I have not had much success with elementary students adding supports to floating objects. I instead encourage students to connect and group all shapes and connect them to the workplane. If they want to make an unconnected shape I have them design a second print in a new file. This has worked much better than when students tried to have multiple unconnected shapes in the same print.
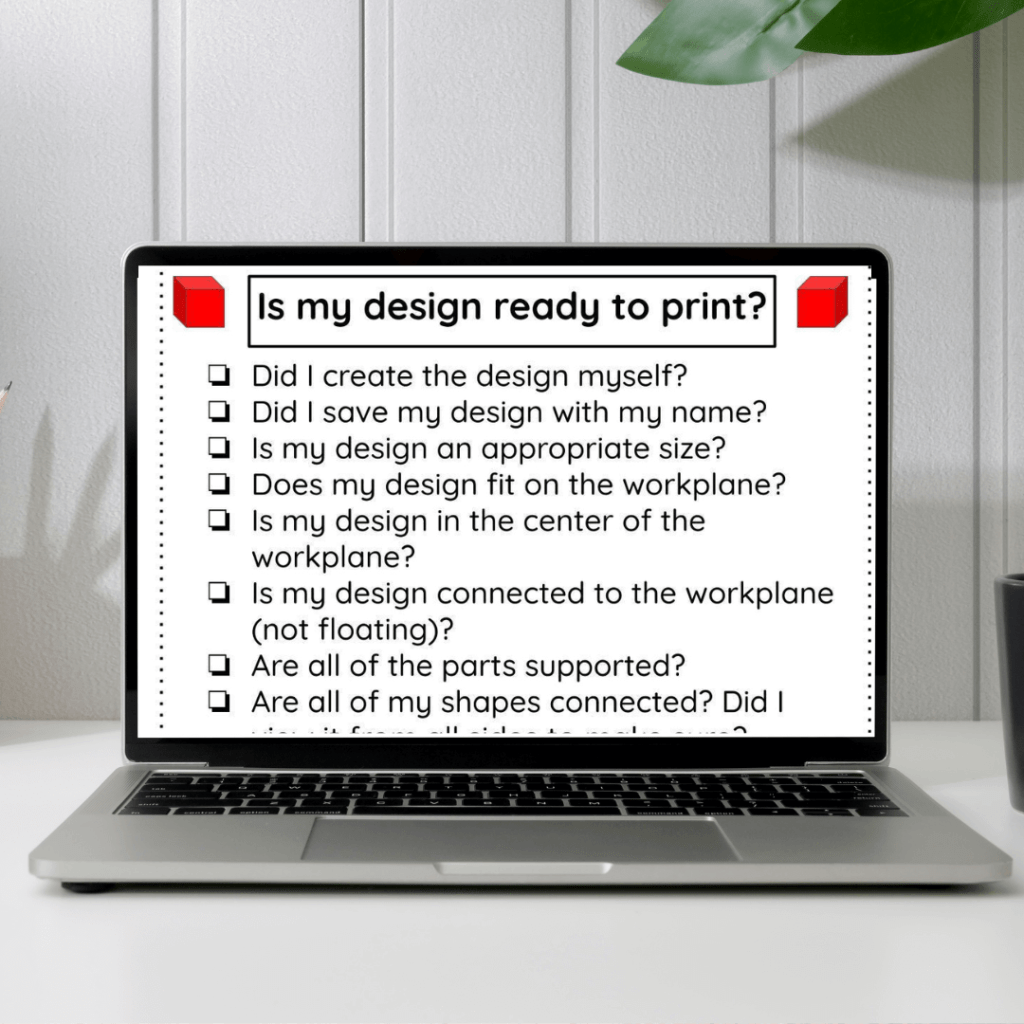
7. Complete a Checklist Before Printing
Before asking for an object to be printed I have students complete a checklist with all of the above information. This has really improved the quality of the prints and has resulted in less “spaghetti” prints that need to be stopped.
Designs need to be reviewed from every angle to ensure that they are connected properly before grouping and downloading them.
8. Teacher Splices
While the actual process of splicing a file is quite simple, I have found it is better for me to complete all of the splicing. I use Cura on my computer which students do not have downloaded on their computers. Splicing each file also allows me to make sure the project is able to be printed and provides the print time. I record each student’s project name and print time on a checklist to make sure I have enough time in the day to complete the print and remember to print each one.
9. Printer Tips
Each 3D printer is different and steps should be followed to ensure your printer works best. Find a level place to set up the printer where it can stay and not be disturbed. Once you have a list of steps needed to ensure proper prints it is helpful to create a cheat sheet to help you remember. My cheat sheet includes:
- Manually level with a sheet of paper
- Auto level
- Set Z axis to 50
- Set nozzle temperature to 200 degrees
- Insert filament and cut at a 45 degree angle
- Set in value to 50
- Set heat bed temperature to 60 degrees
- Clean up the spilled filament
- Insert SD card
- Choose print and select a file
- Start printing after temperatures are reached
Be sure to check the user manual for your specific printer and adjust as needed for the type of filament you are using. There are lots of YouTube tutorials that can help you get started.
10. Celebrate
Don’t forget to take time to celebrate your students’ creations when they are done. Invite others to see the 3D printer in action, share pictures of the prints in school and classroom newsletters, and let students take their finished projects home to share with their families. This is a great accomplishment and they should be proud!
Good luck with your new 3D printer! Embrace the journey, and watch your classroom come to life with ideas and innovation.


Leave a comment